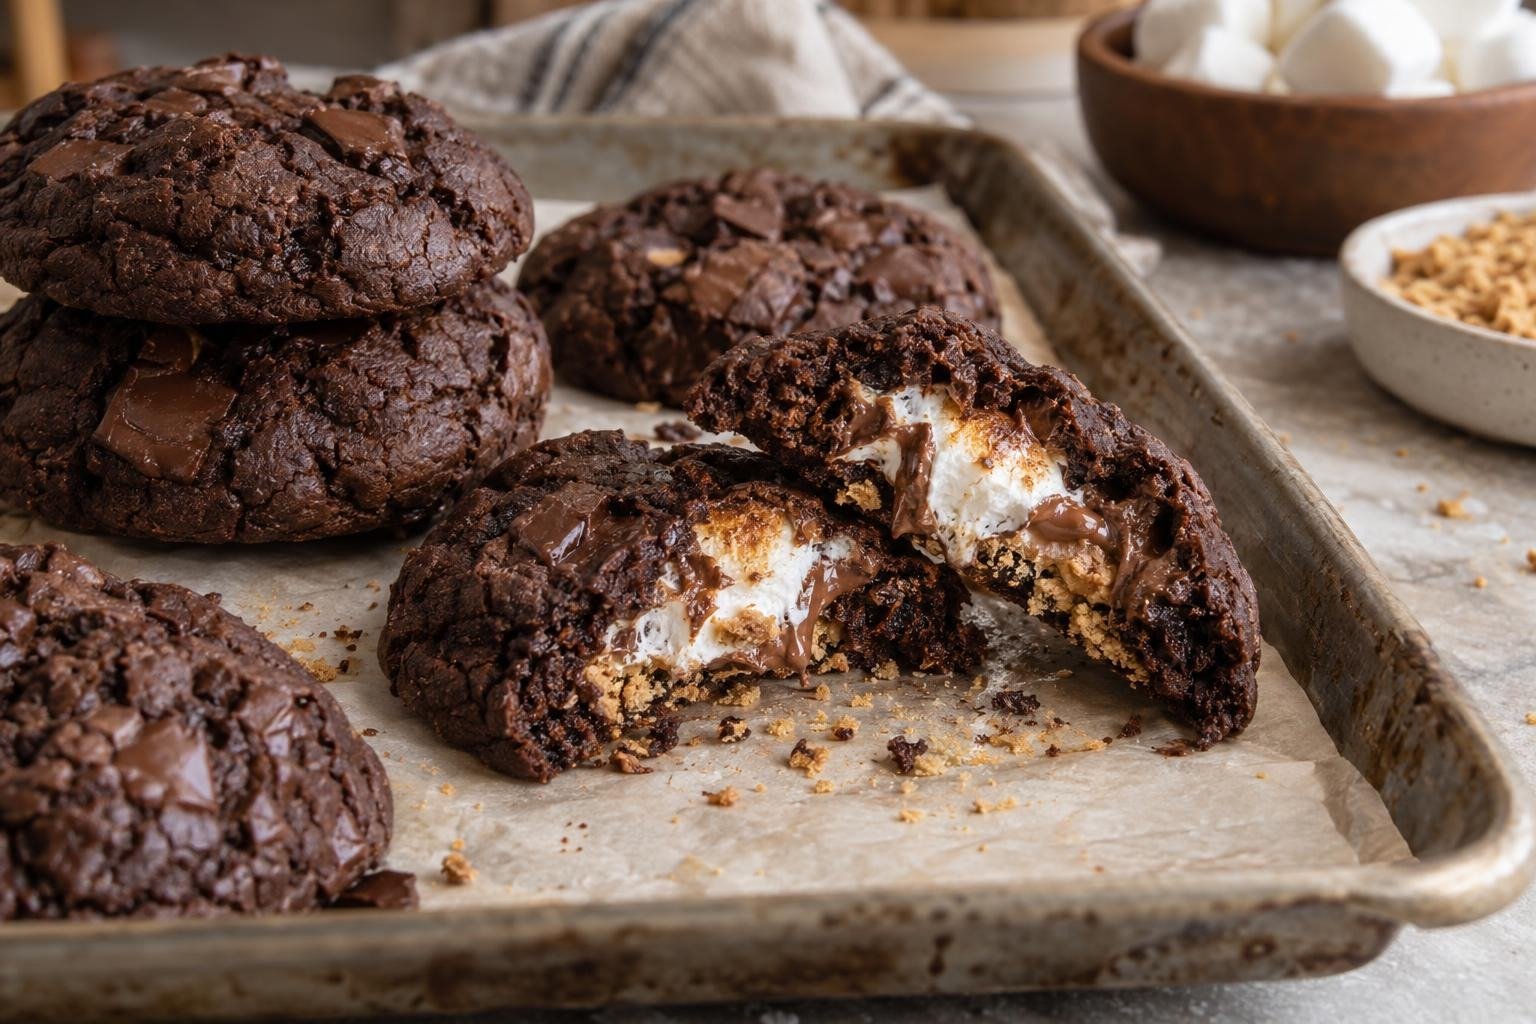
Line a rimmed metal baking sheet with foil and arrange the marshmallow halves cut-side up. Brown each cut surface with a kitchen torch held several inches away, moving constantly until golden with a few darker spots but not burned. Let them stand for 2 minutes, then press each toasted side into 3.75 grams of graham crumbs and top with one 5-gram milk chocolate piece. Freeze the 12 compact packets for at least 20 minutes while preparing the dough.
Place a fine-mesh sieve over a medium bowl and sift together the all-purpose flour, Dutch-process cocoa, cornstarch, baking soda, and fine sea salt. Whisk for about 30 seconds, reaching around the sides and bottom so the cocoa and leavener are evenly dispersed. Breaking up cocoa pockets now prevents bitter streaks later and allows the dough to be mixed briefly after the flour is added, which helps preserve a tender, chewy texture.
Fit a stand mixer with the paddle attachment. Beat the 18 to 20°C butter, brown sugar, and granulated sugar on medium speed for 2 minutes, stopping once to scrape the bowl and paddle. The mixture should look creamy and slightly lighter but should not become extremely fluffy. Add the whole egg, egg yolk, and vanilla, then mix on medium-low for 45 to 60 seconds until smooth, cohesive, and no slippery egg streaks remain.
Add the dry mixture to the butter mixture and mix on low speed for 20 to 30 seconds, just until only a few flour streaks remain. Fold in the semisweet chocolate chunks with a flexible spatula, scraping through the bottom until the dough is uniformly dark and no dry pockets remain. Cover the bowl and refrigerate for 45 minutes. Properly chilled dough should feel firm but pliable and should not leave a greasy coating on your fingers.
Line two large light-colored baking sheets with parchment. Divide the dough into 12 portions of 76 grams each, then split every portion into two roughly equal pieces. Flatten both pieces into 8 to 9 cm discs. Place one frozen filling packet in the center of a disc, cover with the second, and firmly pinch the edges together. Roll gently to smooth the seam without crushing the filling, place seam-side down, and chill the assembled cookies for 10 minutes.
Heat the oven to 175°C and position a rack in the center. Arrange 6 chilled cookies on one prepared sheet with at least 7 cm between them, keeping the second sheet refrigerated. Bake one sheet at a time for 12 to 14 minutes. The cookies are done when their edges feel set, the tops appear matte rather than wet, and the centers remain puffed and soft. Dark dough will not show reliable browning, so do not wait for firm centers.
Set the hot baking sheet on a heatproof surface and leave the cookies undisturbed for 15 minutes. Their centers are fragile immediately after baking, and this rest allows the dough structure and melted chocolate to set without losing chewiness. Use a wide spatula to transfer the cookies to a wire rack, then cool for another 20 minutes before serving. Repeat with the refrigerated sheet, allowing a hot pan to cool before reusing it if necessary.