Grease three 8-inch (20cm) round cake pans, lining each with a circle of parchment on the bottom. Lightly grease the sides and dust with cocoa powder, knocking out any excess. Preheat your oven to 350°F (175°C) so it's fully heated before your batter is ready.
Sift together the flour, cocoa powder, sugar, baking powder, baking soda, salt, and espresso powder (if using) into a large mixing bowl. Whisk briefly to ensure everything is evenly distributed and lump-free. Set aside while you prepare the wet ingredients.
In a separate bowl, whisk together the oil, sour cream, whole milk, eggs, and vanilla until fully blended. Pour this mixture into the dry ingredients and whisk until just combined and you see no pockets of flour, avoid overmixing for a soft crumb.
Whisk the melted and cooled bittersweet chocolate into the batter until the color is uniform and glossy. Scrape the bowl well to ensure all chocolate is distributed, and the batter looks smooth without streaks or lumps. Finish by scraping the sides with a flexible spatula.
Evenly divide the chocolate batter among your prepared pans (use a digital scale or measuring cup for accuracy). Smooth the tops, then bake on the center rack for 24 to 28 minutes, rotating the pans halfway through. Cakes are done when a toothpick comes out with moist, not wet, crumbs.
Let the cakes cool in their pans on a rack for 10 minutes; then run a thin knife around the edges and invert onto racks. Carefully peel off the parchment and let layers cool completely to room temperature before stacking. Don’t frost warm cakes, they’ll melt your buttercream.
Beat butter with a stand mixer and paddle attachment on medium-high for 3 minutes, until fluffy and pale. Sift in cocoa powder and powdered sugar; add vanilla and salt, beating on low until combined. Pour in the melted chocolate and heavy cream, then whip on high for 2 more minutes. Adjust texture with extra cream if needed.
Level cake layers if needed. Place the first layer on your serving board and pipe or spread about 3/4 cup of buttercream evenly over the surface. Repeat with the second layer, then top with the final cake round. Press gently to set the stack before coating with a thin crumb coat.
Spread a thin layer of buttercream over the top and sides of the stacked cake, sealing in crumbs. Chill for 20 minutes to set, then use an offset spatula and bench scraper to apply a final, thick layer of frosting. Aim for smooth, straight sides and a level top.
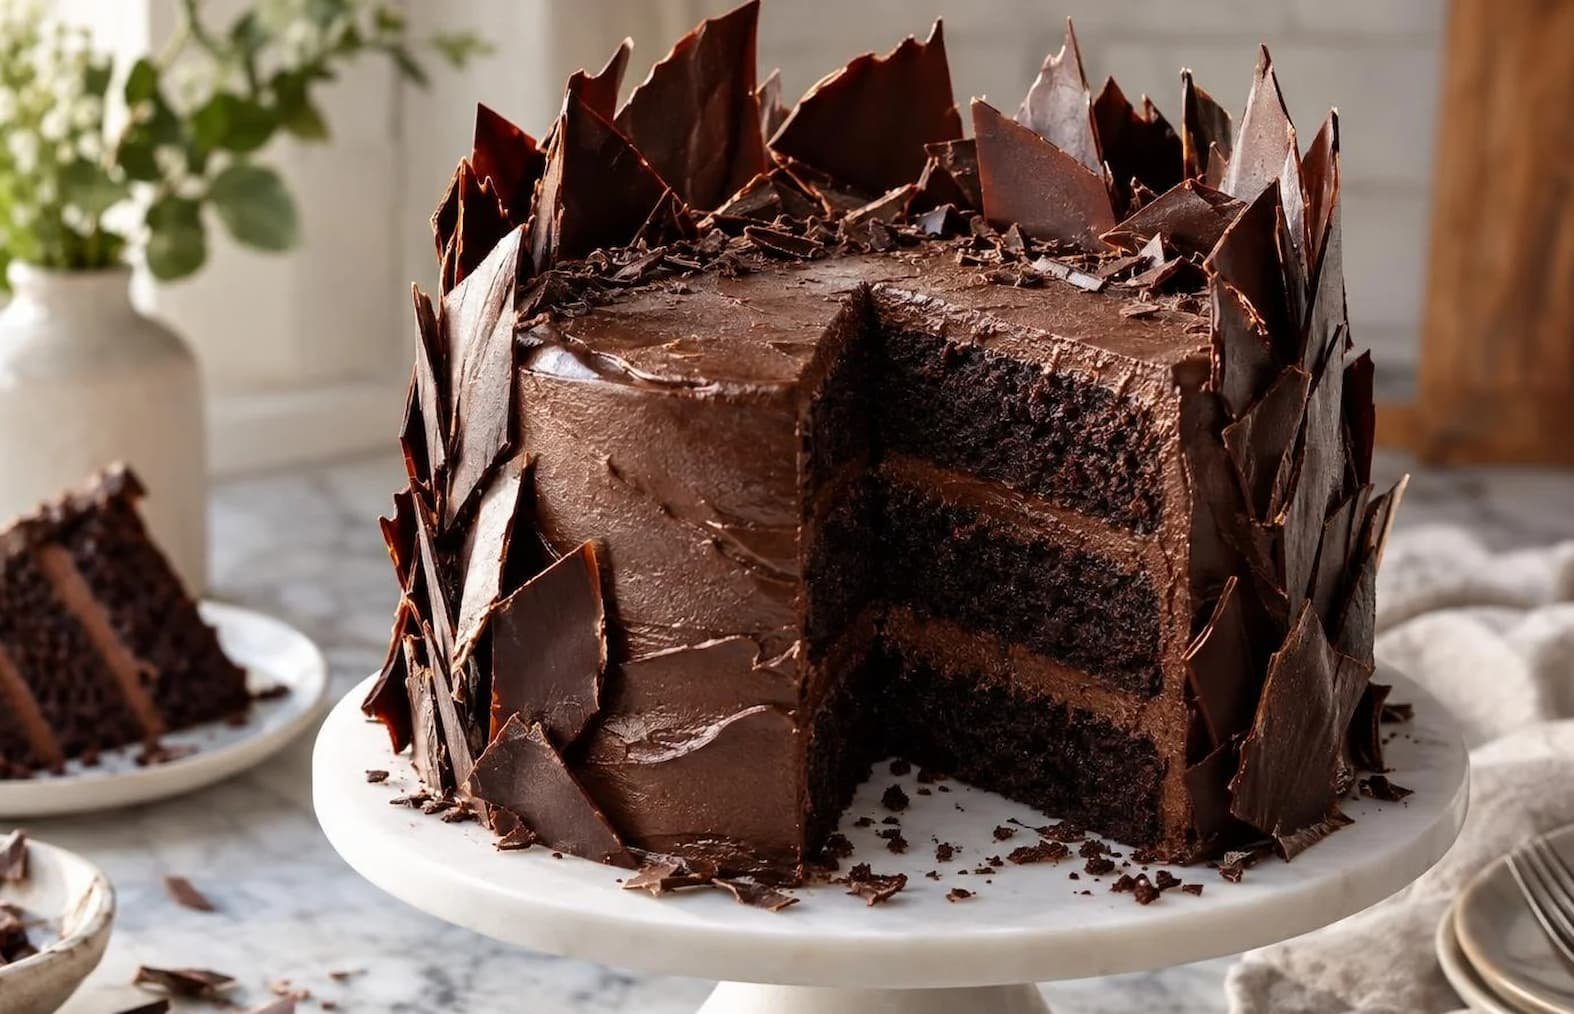
Line a baking sheet with parchment. Melt the chocolate for shards gently over a double boiler or in the microwave (30-second bursts, stirring between), then temper if desired for a shinier snap. Pour onto the sheet and spread to about 1/8-inch thick. Chill until set, then break or slice into long, jagged shards of varying widths and heights.
Make sure the frosted cake is chilled but the buttercream is still slightly tacky, not hard. Press chocolate shards vertically around the cake’s edges and cluster some atop the center. Vary direction and height for a spiky, celebratory finish. Chill 10 minutes to set the decorations before serving.