Line two light-colored half-sheet pans with parchment paper. Arrange an oven rack in the center and preheat the oven to 175°C or 350°F for at least 30 minutes before baking. A thoroughly heated oven sets the cookie edges before too much butter melts outward. Keep the prepared pans at room temperature for shaping, but do not place dough on a pan that is warm from the oven.
Place the 18 to 20°C butter, brown sugar, and granulated sugar in the bowl of a stand mixer fitted with the paddle attachment. Mix on medium speed for 2 minutes, stopping once to scrape the bowl and paddle. The mixture should look creamy and slightly lightened but not fluffy or mousse-like. Restrained aeration helps these large cookies spread evenly instead of rising dramatically and collapsing into fragile centers.
Add the eggs one at a time on medium-low speed, mixing for about 20 seconds after each addition. Scrape the bottom and sides of the bowl, add the vanilla, and mix for another 15 seconds. The mixture should be smooth, thick, and evenly emulsified, although a slightly granular appearance from the sugar is normal. If it looks greasy or separated, continue mixing on low just until it comes together.
Whisk the flour, cocoa powder, baking soda, and salt in a medium bowl until the cocoa is evenly distributed. Add the dry mixture to the butter mixture and mix on low for 20 to 30 seconds, stopping while a few flour streaks remain. Fold with a silicone spatula, scraping the bottom of the bowl, then fold in 210 g of the chocolate chips. The finished dough should be thick, cohesive, and slightly tacky rather than loose or glossy.
Divide the dough into 12 portions weighing 100 to 105 g each. Roll each portion gently into a tall, compact mound rather than a smooth, compressed ball, then press the reserved chocolate chips onto the exposed surfaces. Space six portions on each prepared pan and refrigerate uncovered for 2 hours, or cover after they become firm and chill for up to 48 hours. Properly chilled portions should feel solid through the center and show no greasy surface.
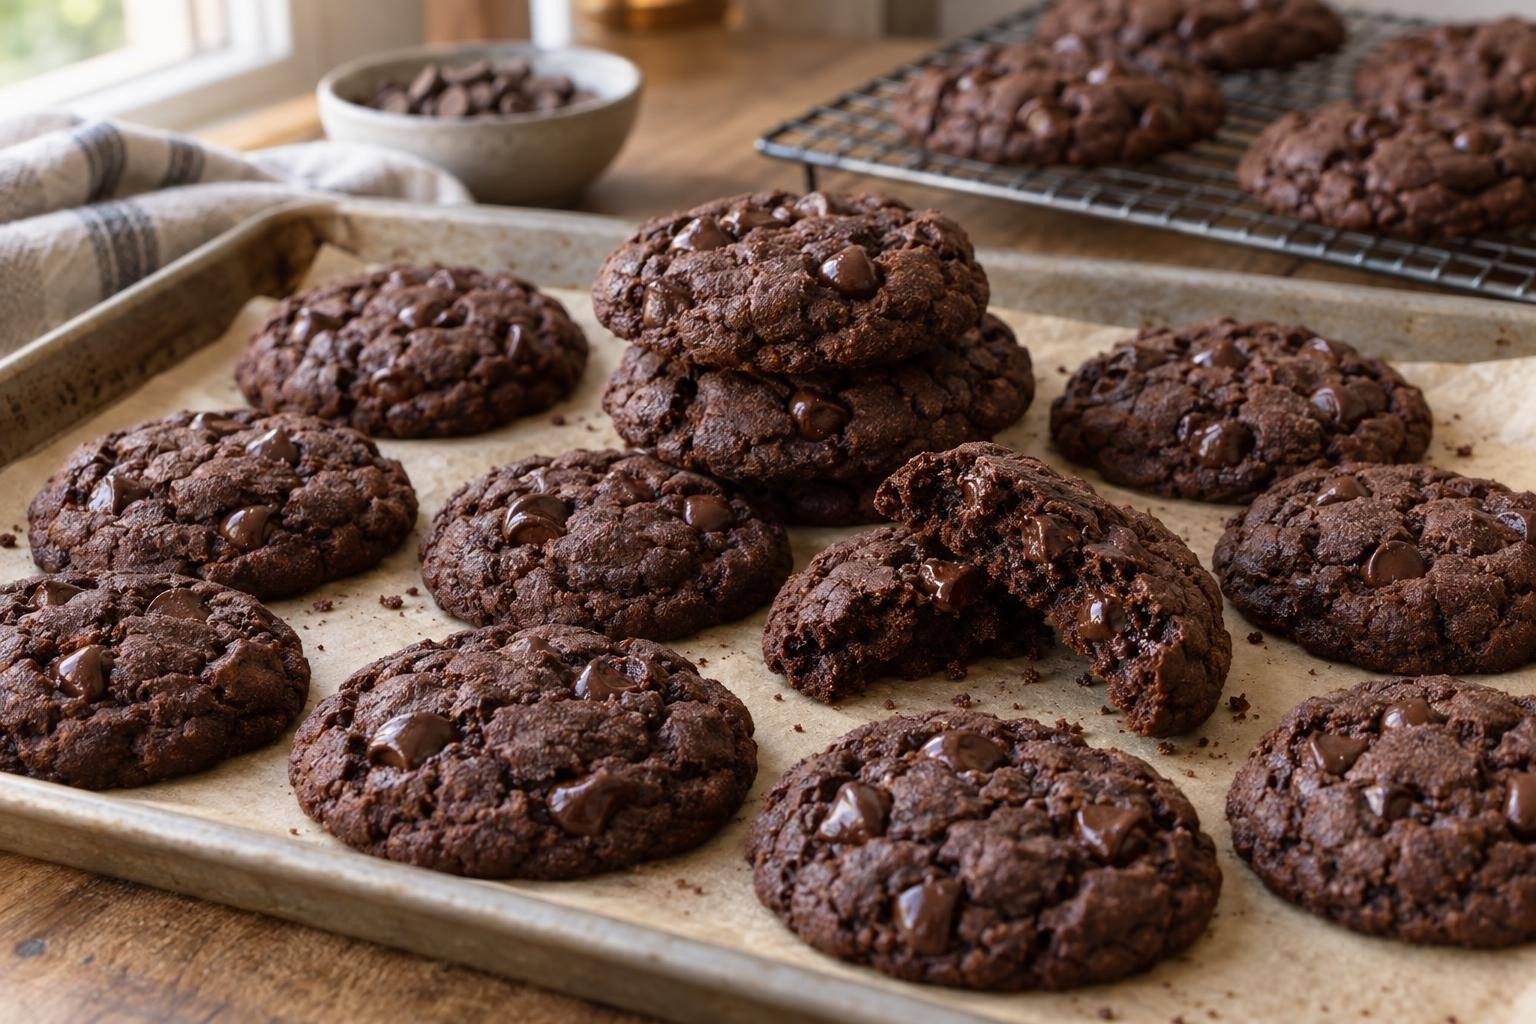
Remove one pan from the refrigerator and let the portions stand for about 15 minutes while the second pan remains chilled. The dough should reach approximately 16 to 18°C and yield only slightly when pressed. Bake the first pan on the center rack for 12 to 14 minutes. Set out the second pan when the first enters the oven, then bake it the same way. Finished cookies should spread to roughly 9 to 10 cm, with firm edges, matte cracked tops, and softly domed centers that no longer look wet.
Leave the cookies undisturbed on the hot pan for 15 minutes. Their centers will continue setting as the melted sugar cools, so moving them immediately can cause breakage. The edges should become crisp while the centers remain soft and chewy rather than raw or fluid. Slide a thin spatula beneath each cookie and transfer it to a wire rack. Cool for at least 5 additional minutes before serving, or cool completely before storing.