Preheat your oven to 350°F (175°C). Line three 8-inch round cake pans with parchment circles and lightly grease the sides and bottom. This prevents sticking and ensures easy release after baking.
In a large bowl, whisk the sifted flour, baking powder, and salt until evenly combined. Move the whisk around the bottom and sides of the bowl to break up any remaining clumps and distribute the leavening thoroughly. The mixture should look uniform in color and texture, with no visible pockets of baking powder or salt.
In the bowl of a stand mixer fitted with the paddle attachment, cream the butter, oil, and granulated sugar on medium speed for 3-4 minutes, until pale and fluffy. Pause to scrape down the bowl, ensuring everything is well combined, this promotes a delicate, even crumb.
Add eggs one at a time, mixing well after each addition and scraping down as needed. Add the vanilla extract. Continue mixing until smooth and slightly thickened; your batter should be lightened with volume.
On low speed, add one-third of the flour mixture, then half the buttermilk, alternating and ending with flour. Scrape down the bowl and mix until just combined. Batter should look smooth with no streaks of flour, but do not overmix.
Evenly divide the batter among the prepared pans, smoothing the tops with an offset spatula. Bake for 24-28 minutes, rotating pans halfway through, until a toothpick inserted in the center comes out clean with a few moist crumbs.
Cool cakes in their pans on a rack for 10 minutes, then run an offset spatula around edges and turn out onto racks. Peel off parchment and cool completely before filling or frosting, stacking warm cakes will ruin your buttercream!
In a clean stand mixer bowl, beat the butter with the paddle attachment on medium-high for 3 minutes, scraping as needed, until very pale and fluffy. Gradually add sifted confectioners’ sugar, then cream, vanilla, and salt. Beat another 2-3 minutes until billowy and smooth. Adjust cream for softer consistency if desired.
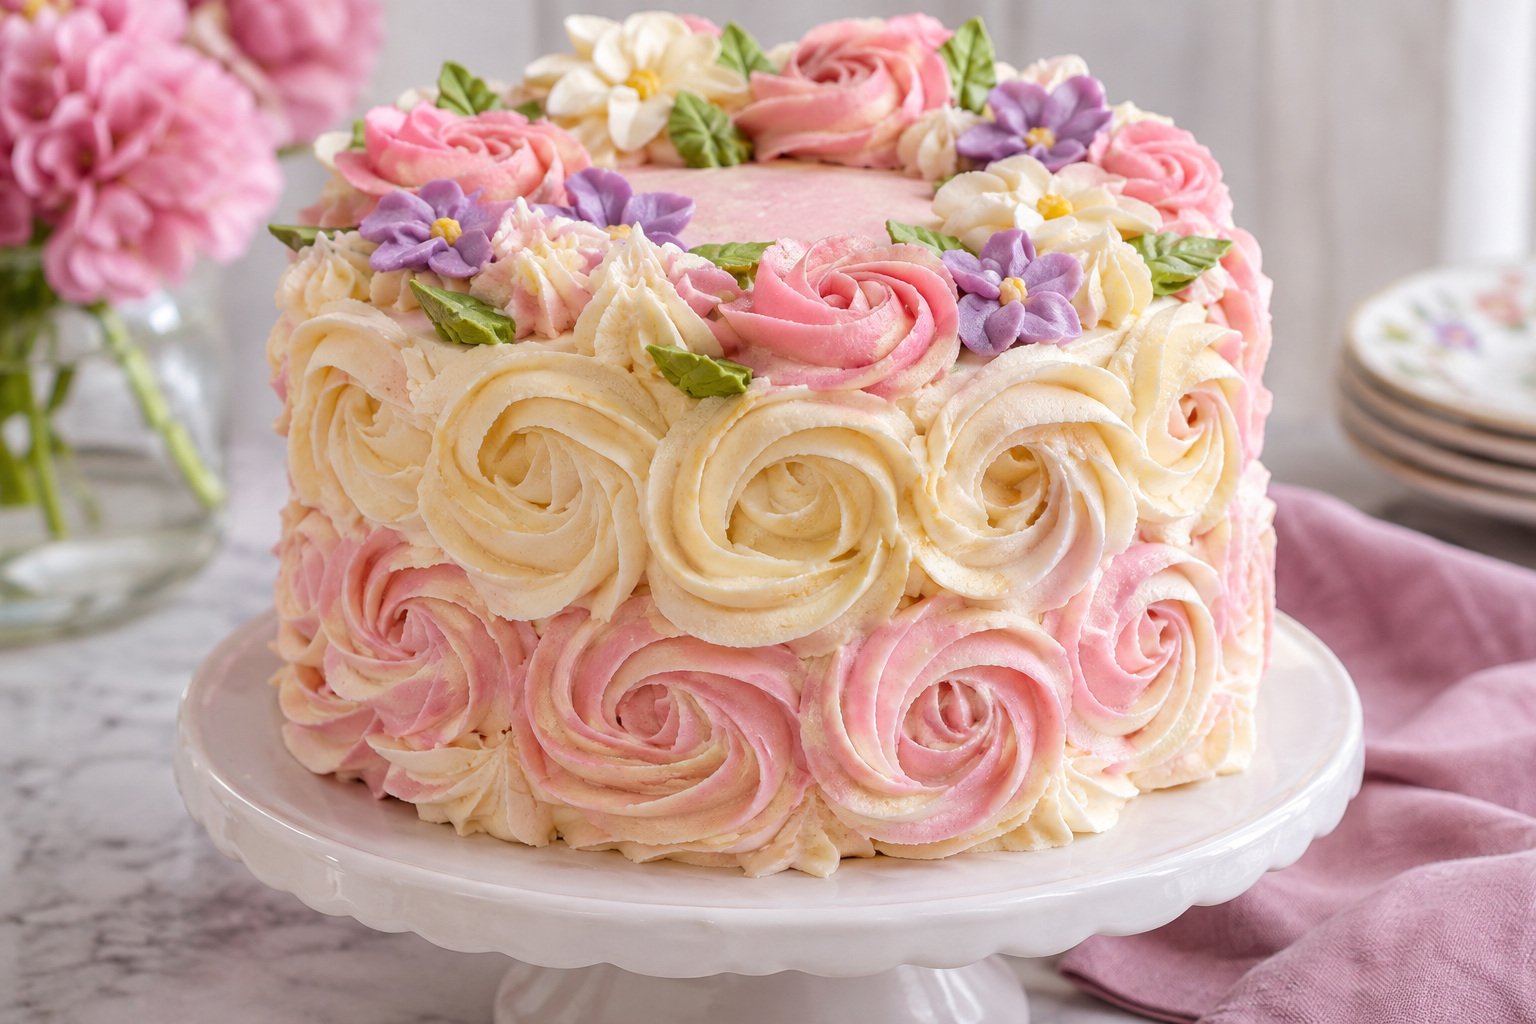
Portion out bowls of buttercream and tint each with gel food coloring as desired, mixing thoroughly to your desired shades. Transfer each color to a piping bag fitted with a large star tip. Always cover bowls and bags with plastic wrap when not piping to prevent crusting.
Use a serrated knife to level cooled cakes. Place the first cake layer on a cake board or stand. Spread a layer of buttercream using an offset spatula. Repeat with remaining layers, stacking carefully, and finish with the final layer on top.
Apply a thin crumb coat of buttercream around the cake and on top, smoothing as evenly as possible. Chill the assembled cake for 30-45 minutes to set the layers and frosting before final decorating, cold cake makes piping easier and keeps rosettes neat.
With a turntable, starting at the base, pipe large rosettes up and around the sides and then over the top of the cake, alternating colored buttercreams as you go. If needed, fill gaps with small stars or leaves. Refrigerate the finished cake for at least 30 minutes to help the decorations hold their shape before serving.