Go Back
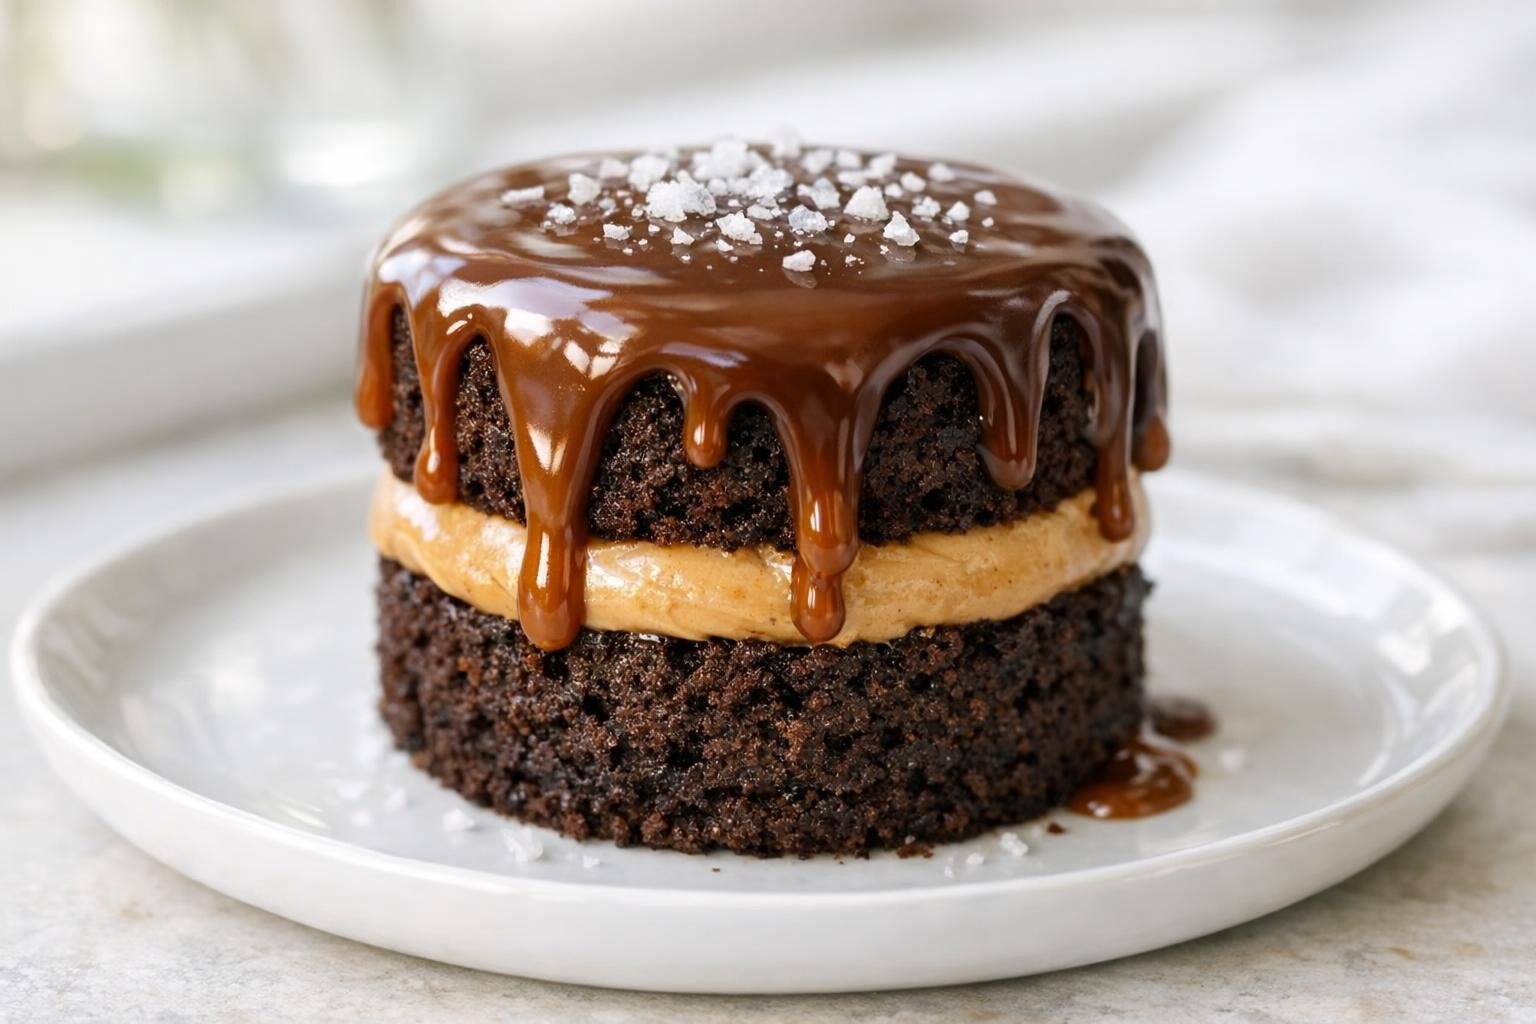
Mini chocolate caramel drip cake with glossy caramel chocolate drip and caramel buttercream on a white plate, topped with flaky sea salt.

Mini Chocolate Caramel Drip Cake with Glossy Drip

Layers of deep chocolate cake meet creamy caramel buttercream, all finished with a glossy chocolate-caramel drip and a sprinkle of flaky sea salt, this mini chocolate caramel drip cake brings bakery-worthy excitement to your kitchen in a petite, irresistible package.
Prep Time 40 minutes
Cook Time 25 minutes
Cooling 1 hour 10 minutes
Total Time 2 hours 15 minutes
Servings: 6 slices
Course: Dessert
Cuisine: American
Calories: 420

Ingredients
  

  • 70 grams all-purpose flour Spoon and level for accuracy
  • 35 grams Dutch-process cocoa powder Do not substitute natural cocoa
  • 110 grams granulated sugar
  • 0.5 teaspoon baking soda
  • 0.25 teaspoon fine sea salt
  • 80 ml buttermilk Room temperature
  • 45 ml neutral oil Canola or vegetable
  • 1 large egg Room temperature
  • 1 teaspoon vanilla extract
  • 60 ml hot water
  • 100 grams unsalted butter For buttercream, room temperature
  • 120 grams powdered sugar Sifted
  • 60 ml caramel sauce Homemade or high-quality store-bought
  • 2 tablespoons heavy cream plus more, as needed, for buttercream consistency
  • 40 grams dark chocolate 60-70% cocoa, chopped, for drip
  • 30 ml caramel sauce for drip
  • 2 teaspoons heavy cream for drip
  • 1 pinch flaky sea salt to finish

Equipment

  • Two 4-inch round cake pans
  • Parchment paper rounds
  • Medium mixing bowls
  • Balloon whisk
  • Electric hand mixer or stand mixer
  • Rubber spatula
  • Small saucepan
  • Heatproof jug or bowl
  • Cooling racks
  • Offset spatula
  • Serrated knife
  • Cake turntable, optional
  • Piping bag or small spoon (for drip)
  • Refrigerator space for chilling

Method
 

  1. Preheat the oven to 350°F (175°C). Lightly grease two 4-inch round cake pans, line bottoms with parchment paper rounds, and grease the parchment. Set aside on a baking sheet for easier handling in and out of the oven.
  2. In a medium mixing bowl, whisk together the flour, Dutch-process cocoa powder, granulated sugar, baking soda, and fine sea salt until thoroughly blended and no cocoa lumps remain. This ensures even leavening and smooth chocolate flavor in the finished layers.
  3. In a separate small bowl or jug, whisk together buttermilk, oil, egg, and vanilla extract until fully emulsified and smooth. Stream in 60 ml hot water and whisk again, this helps bloom the cocoa and keeps the batter glossy and fluid.
  4. Pour the wet ingredients over the dry mixture. Whisk gently until just combined; scrape bowl and fold with a spatula to ensure no flour pockets remain. Batter should appear shiny, pourable, and free of lumps but do not overmix.
  5. Divide the batter evenly between the prepared pans (about 170g per pan). Smooth tops with a spatula. Bake on the center rack for 22-26 minutes until a cake tester emerges with only moist crumbs, not wet batter. Avoid overbaking.
  6. Remove pans to a wire rack and cool for 10 minutes. Run a thin knife around edges and invert onto racks. Peel off parchment and cool completely. For neat stacking, wrap layers and refrigerate 45-60 minutes until chilled and firm.
  7. In a medium bowl, beat unsalted butter with a hand mixer on medium-high until very pale and fluffy, about 2 minutes. Beat in powdered sugar, scraping once midway, until creamy. Add caramel sauce and 2 tablespoons heavy cream; beat until smooth and spreadable. Add a touch more cream if needed for silky consistency.
  8. Place one cake layer on a serving board. Spread generously with caramel buttercream (about ⅓ of total). Stack the second layer and apply a thin crumb coat over the entire cake. Chill for 20 minutes. Apply remaining buttercream in a smooth, even layer, using an offset spatula to create tall, tidy sides.
  9. In a heatproof bowl, melt the chopped chocolate in 15-second intervals in the microwave, stirring between, until mostly smooth. Stir in caramel sauce and 2 teaspoons heavy cream. Mix until glossy and fluid but thick enough to mound lightly on a spoon. Let cool to just warm, about 95°F (35°C), before decorating.
  10. With the cake chilled, use a spoon or piping bag to gently nudge the glossy drip over the cake edge, allowing it to flow naturally. Cover the top with remaining drip for a domed look. Sprinkle flaky sea salt over the drip once it begins to set but is still slightly tacky to the touch.
Notes

  • Bring ingredients to room temp: This helps the cake batter and buttercream blend quickly and smoothly, giving you maximum volume and a lighter, tender crumb.
  • Chill before stacking: Cold cake layers won’t shed crumbs into your frosting and they’re much easier to level and stack tall for bakery-style height.
  • Check drip consistency before decorating: The chocolate-caramel drip should be fluid but not hot. Test on a chilled glass, if it slowly runs, you’re good.
  • Always use a crumb coat: A thin buttercream base layer locks in crumbs, keeps the outside smooth, and makes your final coat look sharp and professional.
  • Use a small offset spatula for control: For such a petite cake, a mini spatula gives you better accuracy on the sides and for swirling buttercream or drip edges.